Ever since I was a little girl, I was always planning something. If we were getting ready for our annual 4th of July camping trip, I was making a list of all the things (or toys I should say) that I wanted to bring. When Halloween would come around, I was planning out my costume and how I wanted to make it. I also made costumes for my stuffed animals. Birthday parties came, and I had to think long and hard what I wanted the theme to be, and all the decorations and favors that came along with it! Years and years of planning summer vacation bucket lists, weekend sleepovers with my friends, and so much more in between. If there was something I could plan, I had a notebook and pen at the ready. Always. Then at age 23, (Christmas Eve of 2016) my whole world went upside down when my best friend and boyfriend of almost 7 years decided he wanted to spend forever with me, I had a whole different experience of planning that was ahead of me.
After the first week or so of being engaged, I had to start thinking of what I wanted to do first. But where do you even start?! Which season? What date? What color scheme? What kind of dress do I want? How am I going to ask my maids? How am I going to keep all of these things straight?! To say the least, I was overwhelmed. From the very beginning. I wanted to jump right in to all the fun projects and all of the planning right away because, isn't this supposed to be one of the most exciting things I'll ever do in my life? Plan my WEDDING DAY? Well, yes! It is because who doesn't always dream about what their wedding day will be like at age 12? Haha! Don't get me wrong, I had an absolute BLAST planning my wedding, but in order to not go completely insane and crazy, you need a plan. (see what I did there? haha!) You need to figure out how you are going to keep everything straight. How you are going to keep every piece of information and detail organized, because there are WAY more things that go into planning a wedding than picking out your theme colors and what type of cake you want.
I wanted to put together this blog post so I can help current and future brides plan their absolute dream wedding day and make sure she has the tools she needs to be set up for success. The most important piece of advice I can give to ANY person planning not just their wedding, but any event for that matter, is to be ORGANIZED. I can not stress this enough. I have put tons of tips and tricks into this post that actually works. Wanna know how I know that these work? Because I did every single one of these. These are tips coming from a real bride, who planned a real wedding. With only 9 months to do it! And it worked! It was hands down the best day of my life and everything turned out absolutely perfect! Mine and Brian's "woodsy elegant" Fall October wedding was everything I dreamed it would be.
CLICK HERE to see our Wedding Day blog post!
And watch out for a post coming soon that shows my entire experience during the 9 months of planning. From dress shopping, to cake tasting, to my Bridal shower, to the suit fitting! I'm really excited to share it and stay tuned for it coming soon!
Now let's get into the blog post, shall we? I also want to mention this-- everyone has a certain way of doing things. Everyone has a different way of learning, planning, and being organized. I am not saying this is the only way to plan a wedding, these are just the ways that helped ME plan my wedding. If you only use ONE of these examples then I know that I helped a Bride, and that is my whole intention for this post! Enjoy!
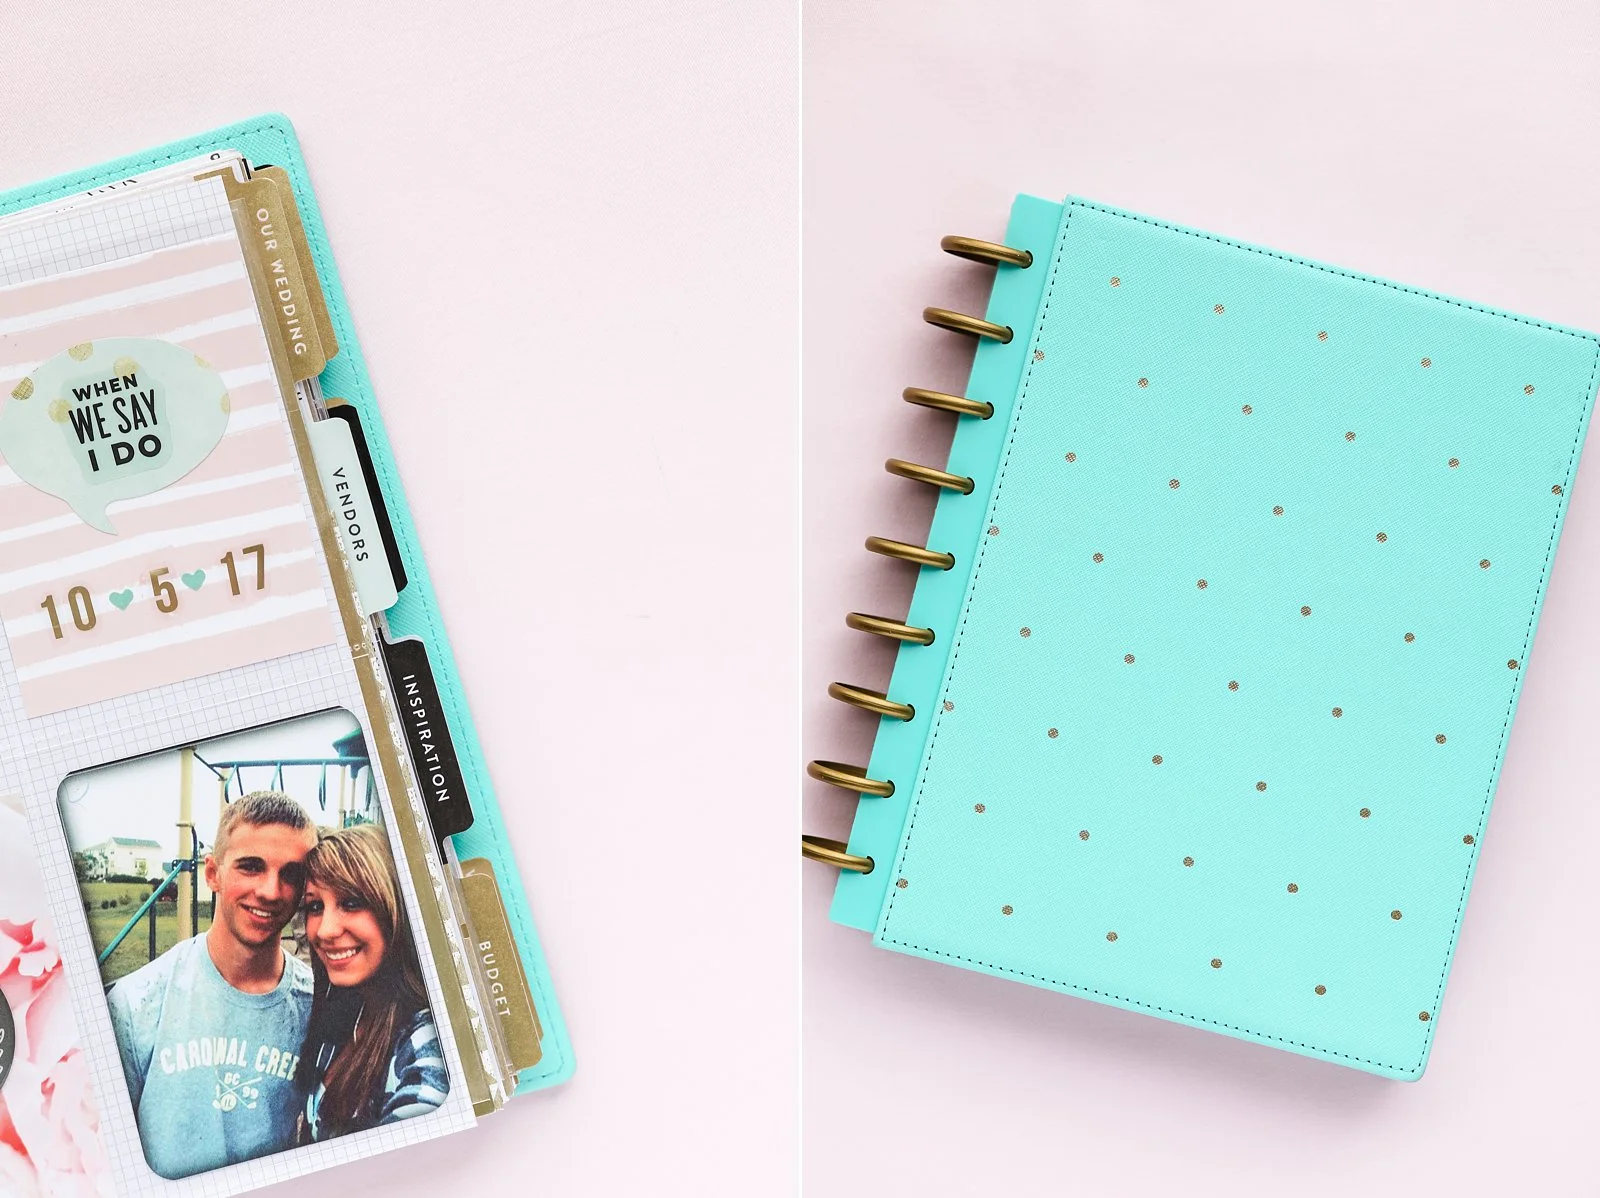
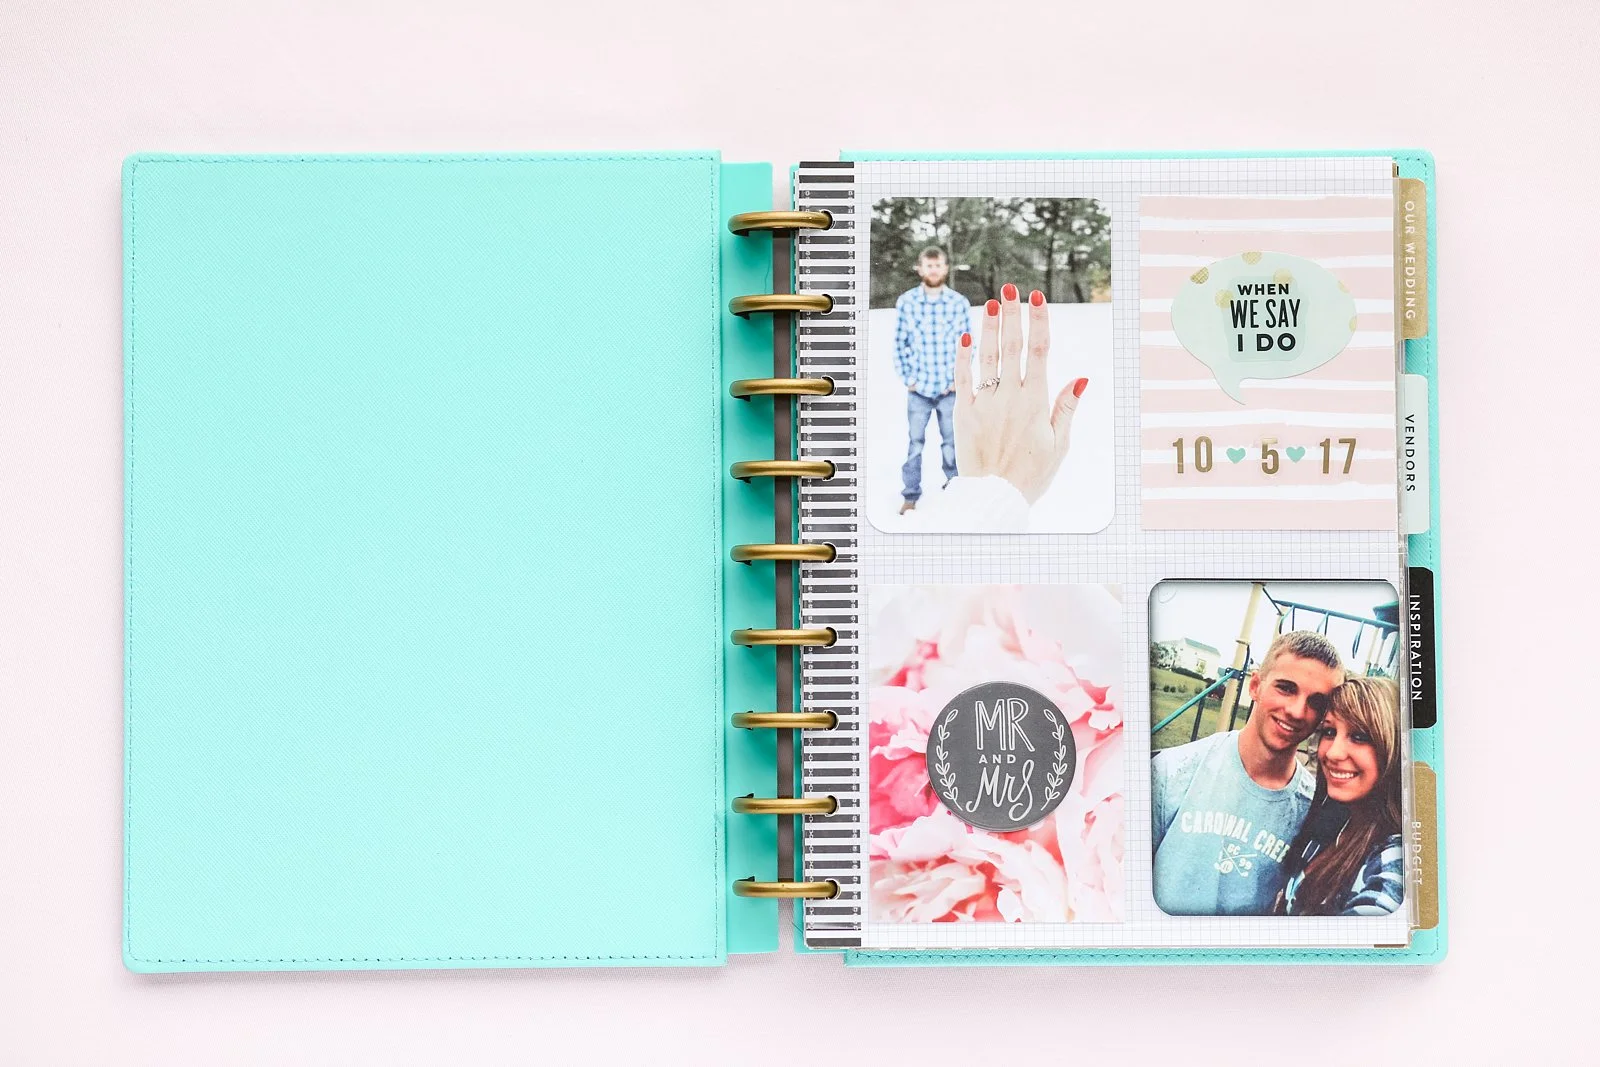
1 | The very first tool that I used to plan my wedding was the Wedding edition of The Happy Planner. If you have never heard of The Happy Planner, it is a disc bound system that helps you create custom planners for whatever your needs are. You can add and remove pages, swap out covers, add folders and dashboards, and all kinds of things! They also have a Wedding Extension Pack! So instead of adding it to an already existing calendar planner, I made my own wedding planner.
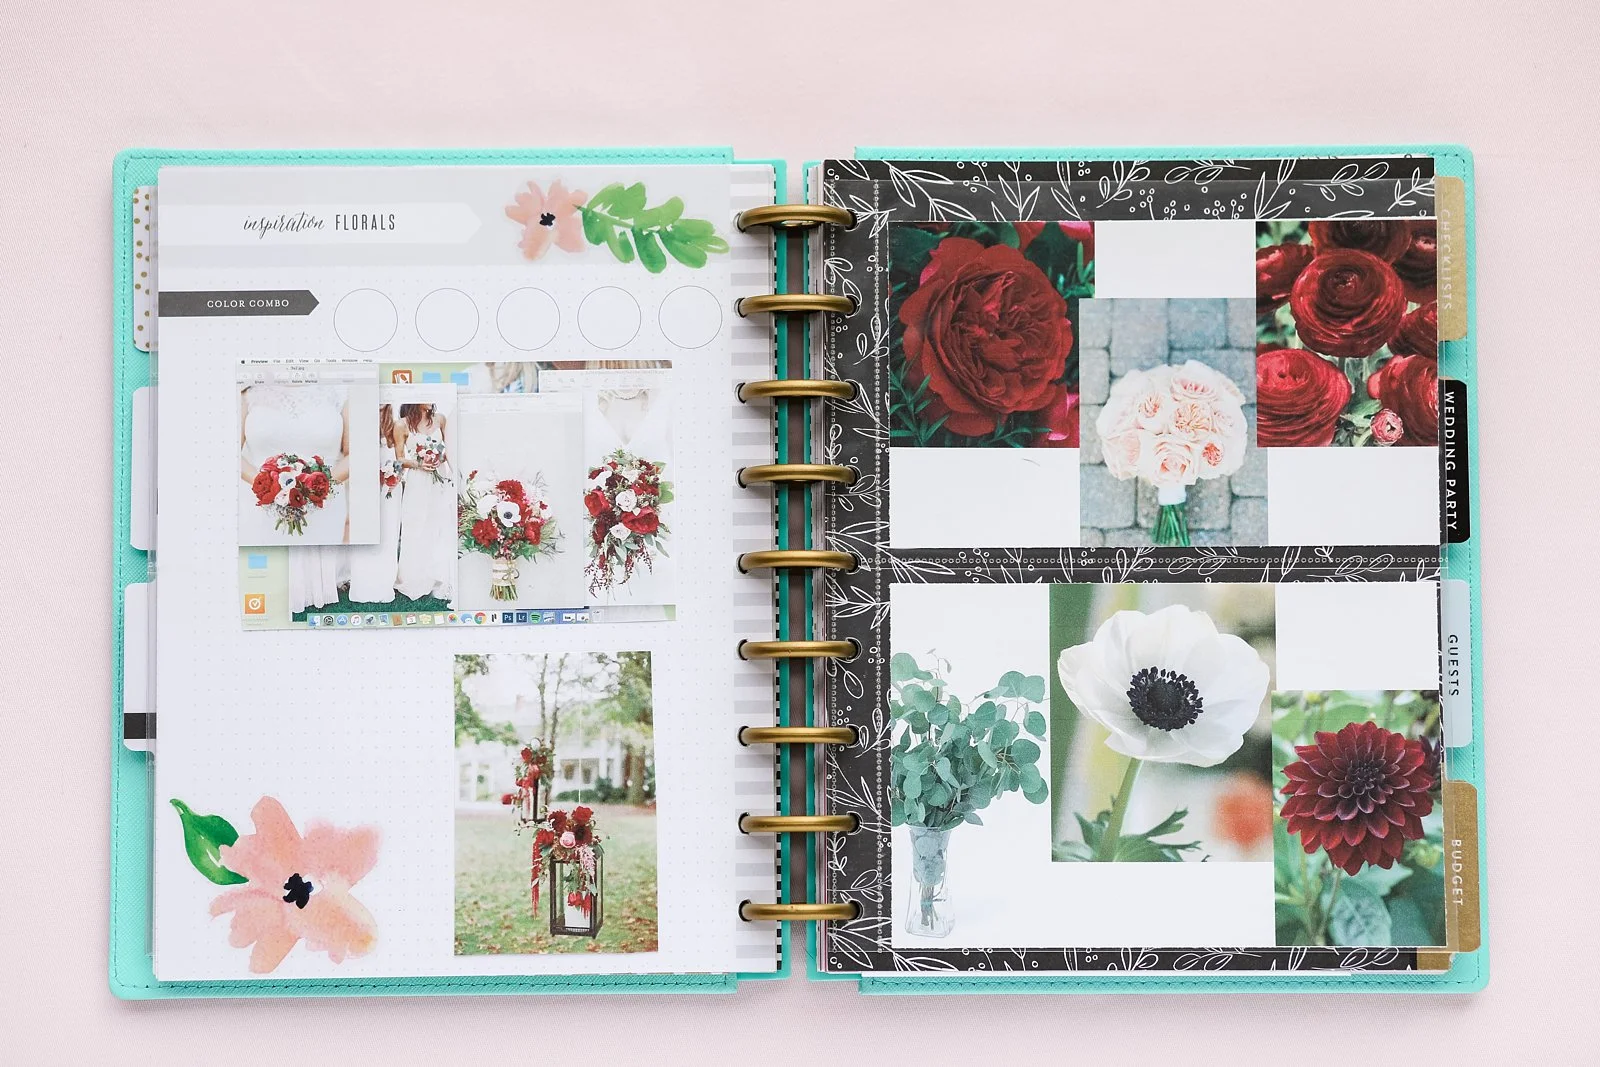
I purchased gold discs and these mint covers to start the binding of the planner. Then I simply added the wedding extension pack section by section. This seriously has everything you could ever need to plan your wedding! It has a spot for all of your vendors and worksheets to fill in while searching for your vendors!
They also have plastic pocket pages you can add to your planner that I used to hold all of the business cards for my vendors so they were all in one place.
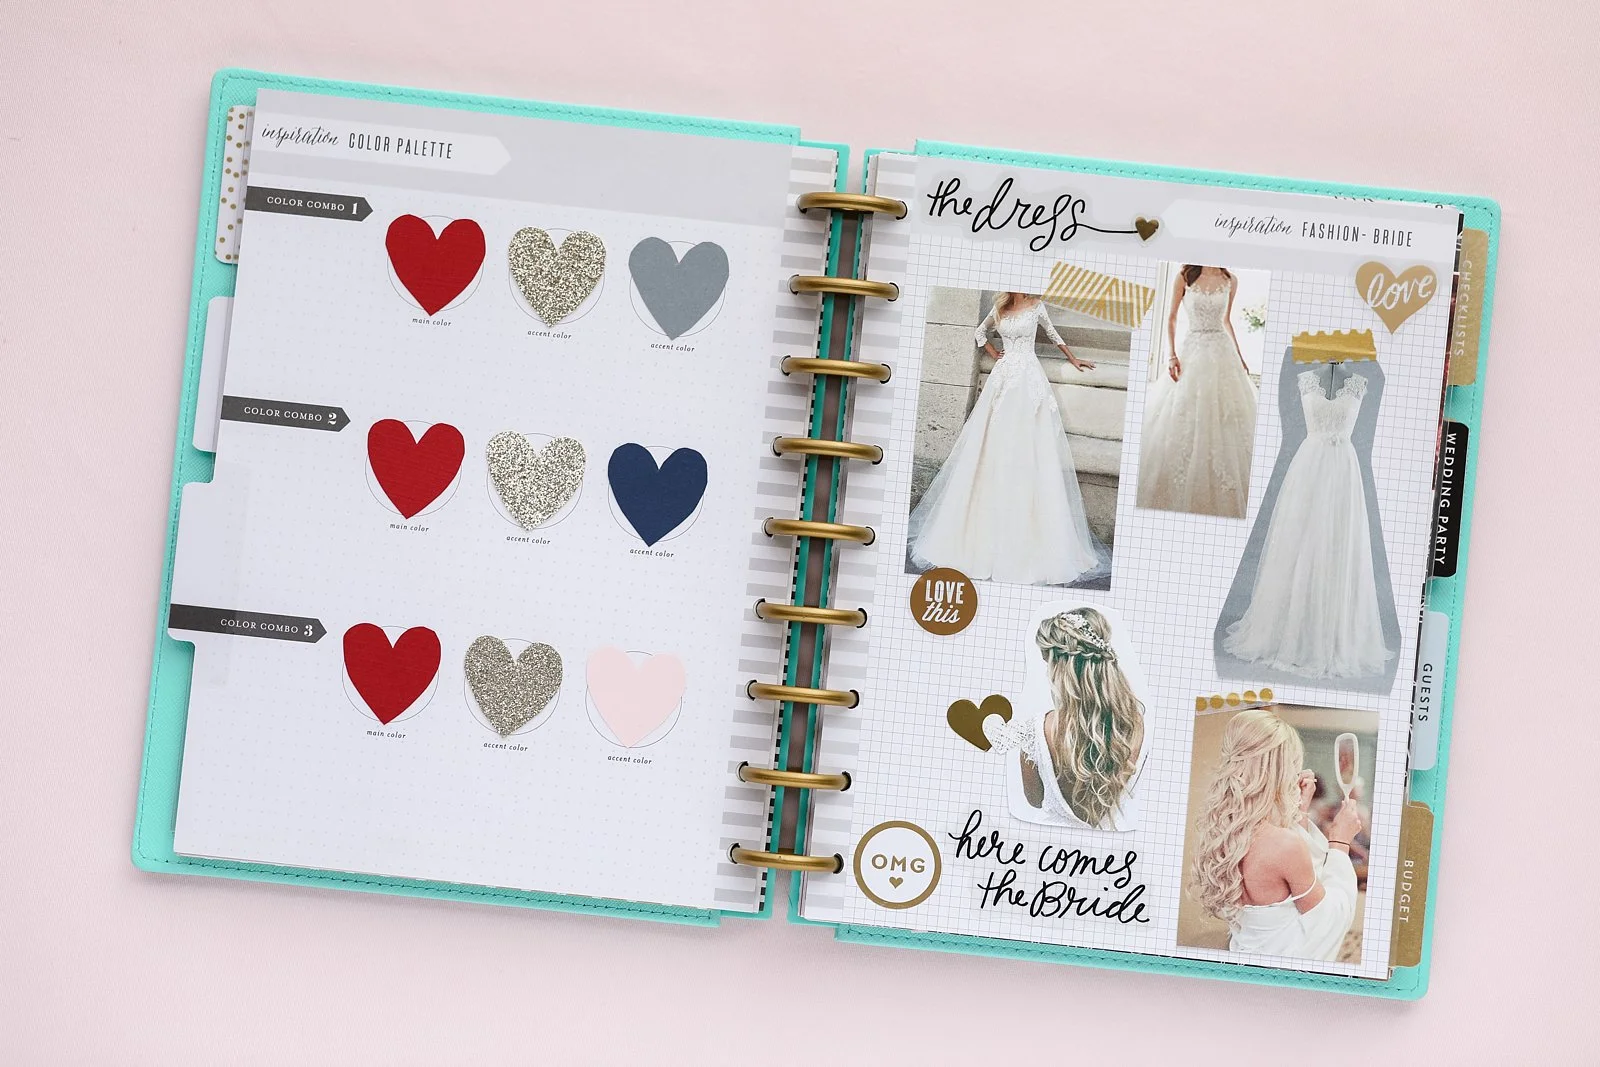
There are tons of fun pages in the "Inspiration" tab that you can create collage boards for each design element. You can cut out magazine clippings, print out images from Pinterest, and jot down notes! This can be super handy to have when you go dress shopping because all of your inspiration is with you on one page!
When I met with my florist, I whipped this page out on the desk to show off my ideas and she was so impressed with how organized I was! It just made me feel so happy to have everything together and easily accessible whenever I needed to show someone something then trying to scroll through thousands of photos on my phone.
There is a checklist section that lists EVERYTHING out in order of when you should be checking things off. From 12+ months out, all the way down to the morning of! If you're anything like me and love checklists, you're going to LOVE this section!
There is a spot to jot down a draft of your guest list and even a master guest list when you've narrowed down through your RSVP's. I used this in the beginning of planning but I actually used a different system for my guest list that you will see later on in this post!
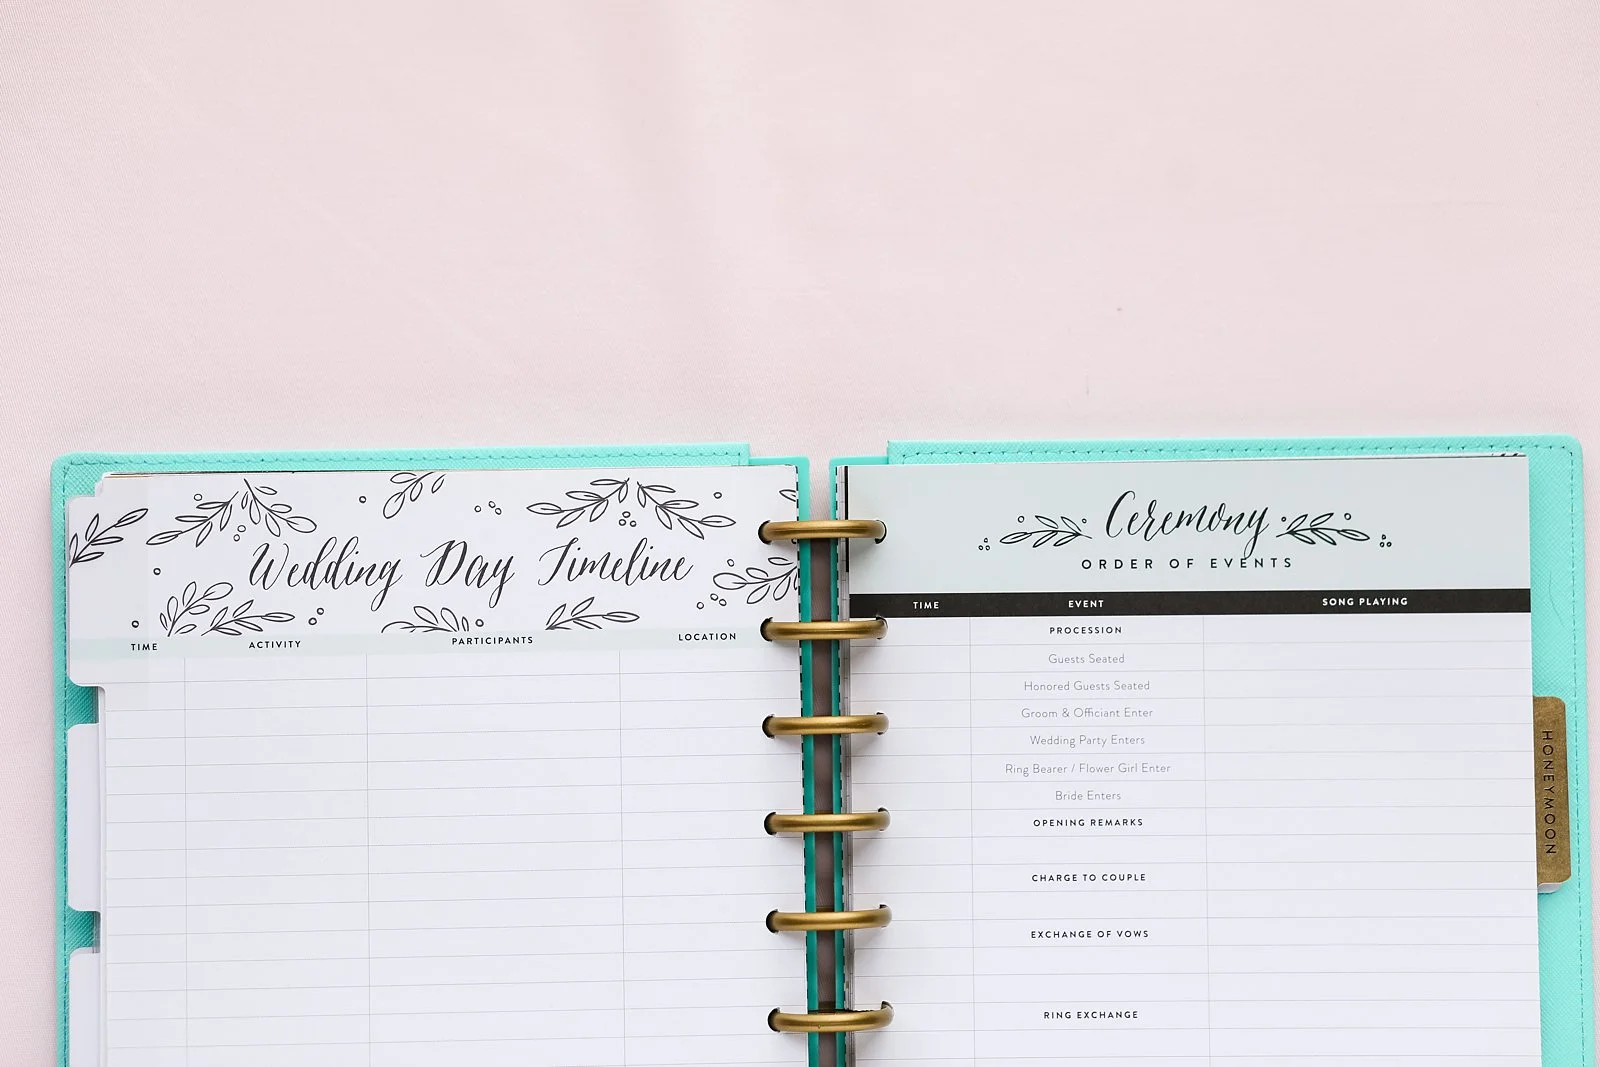
Wedding Day timeline, order of events, Bridal Shower planning and gift tracker, Honeymoon section, Budgeting, and SO much more! This planner was so much fun to have during the planning process and it helped me know when things needed to get done in each period of time!
You can find the links to all of the products to create your own wedding Happy Planner here!
2 | My next tip actually has two different parts to it. There are SO many different people and vendors that you are going to be reaching out to. On average, I would say for each vendor, I emailed and inquired at least 5 different companies and people for each category. If you count the very basic vendors you would need for your wedding day (which is somewhere around 8?) and times that by 5! That's 40 different people I'm emailing and keeping track of all the conversations! That's overwhelming in itself! A great way to keep ALL of these emails separate from your everyday emails and inbox, and risk losing an important chat, make a different email address JUST for wedding planning! You could have it be BothOfYourNames_wedding@gmail.com or whatever you want it to be!
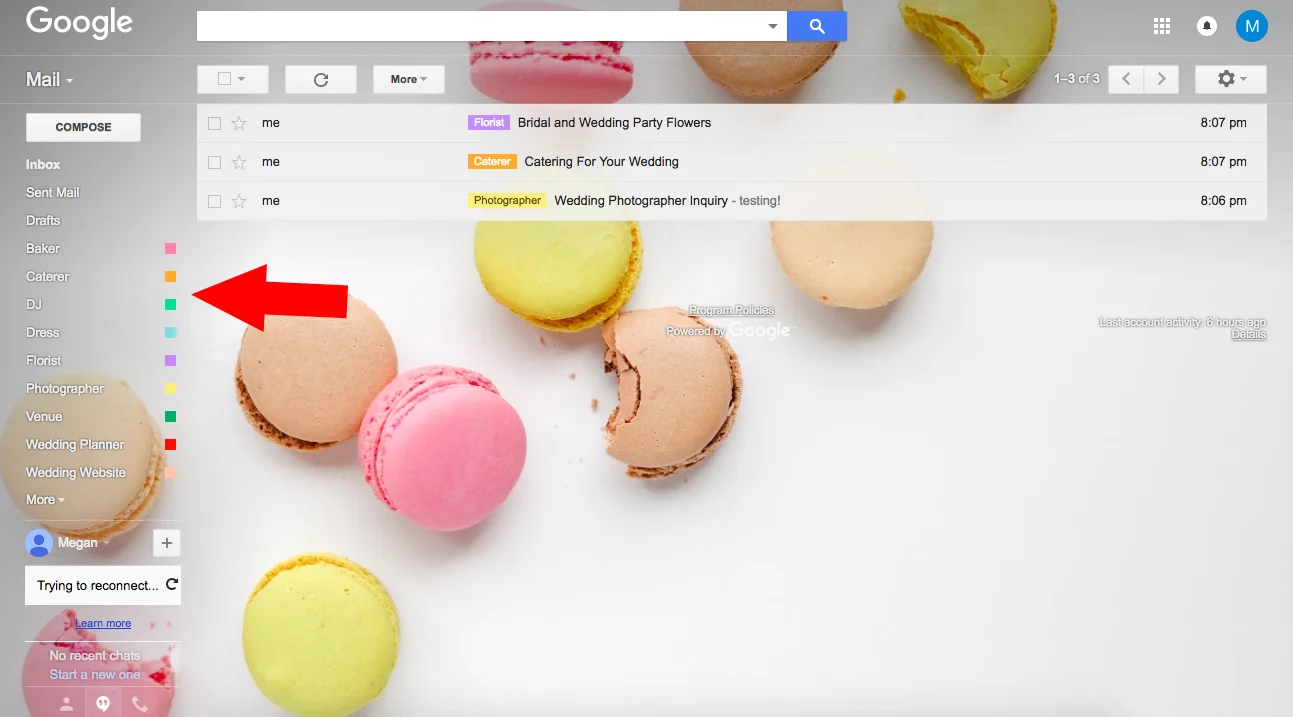
2.5 | The second part to this tip is making separate folders within your email account! I made an example page to show you how I set mine up when I was planning. On the left hand side, you will see I made different folders with different color labels for each category. So every time I get an email about a certain vendor, I can simply respond, and save it to the designated folder! Then when they respond back to you, you can see it clearly in your inbox by the colors and labels, who the email is coming from and what category it belongs to.
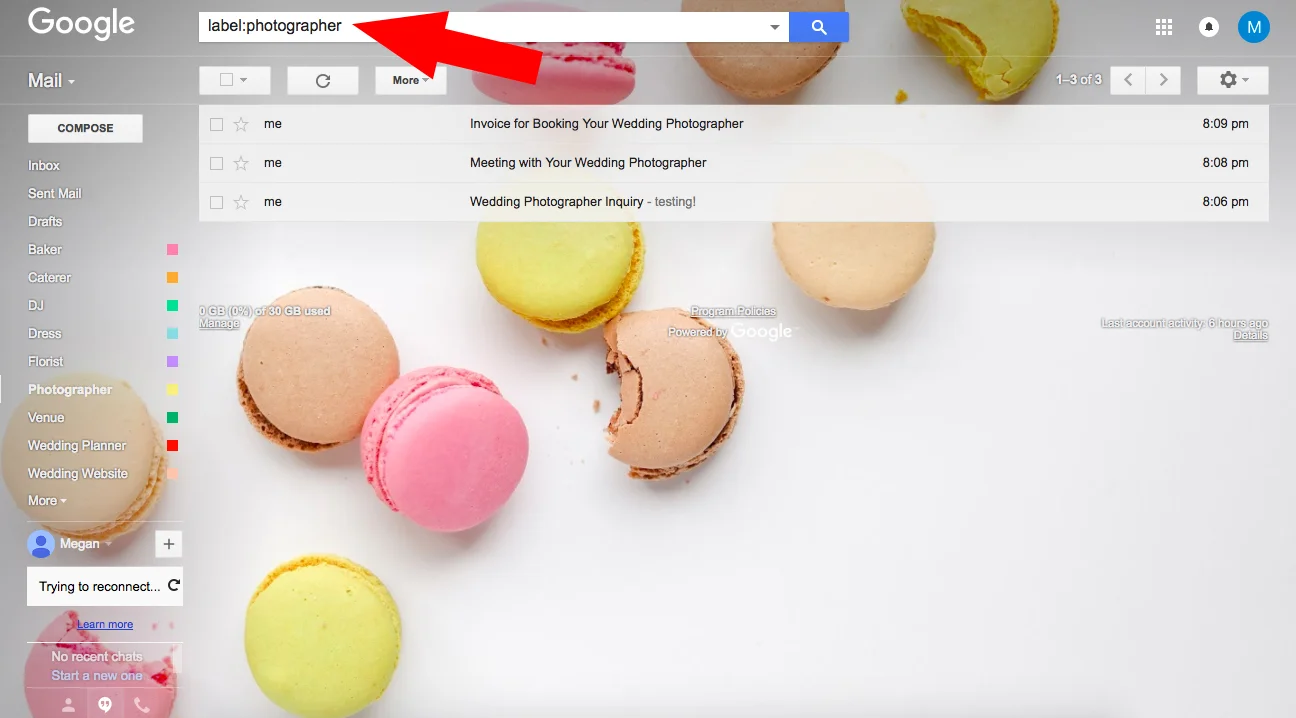
When I click on the "Photographer" folder, you will see at the top of the screen, we are in the photographer category. Every conversation I had with a photographer will be saved in this folder and I know where everything is if I have to refer back to it! Genius, right?!
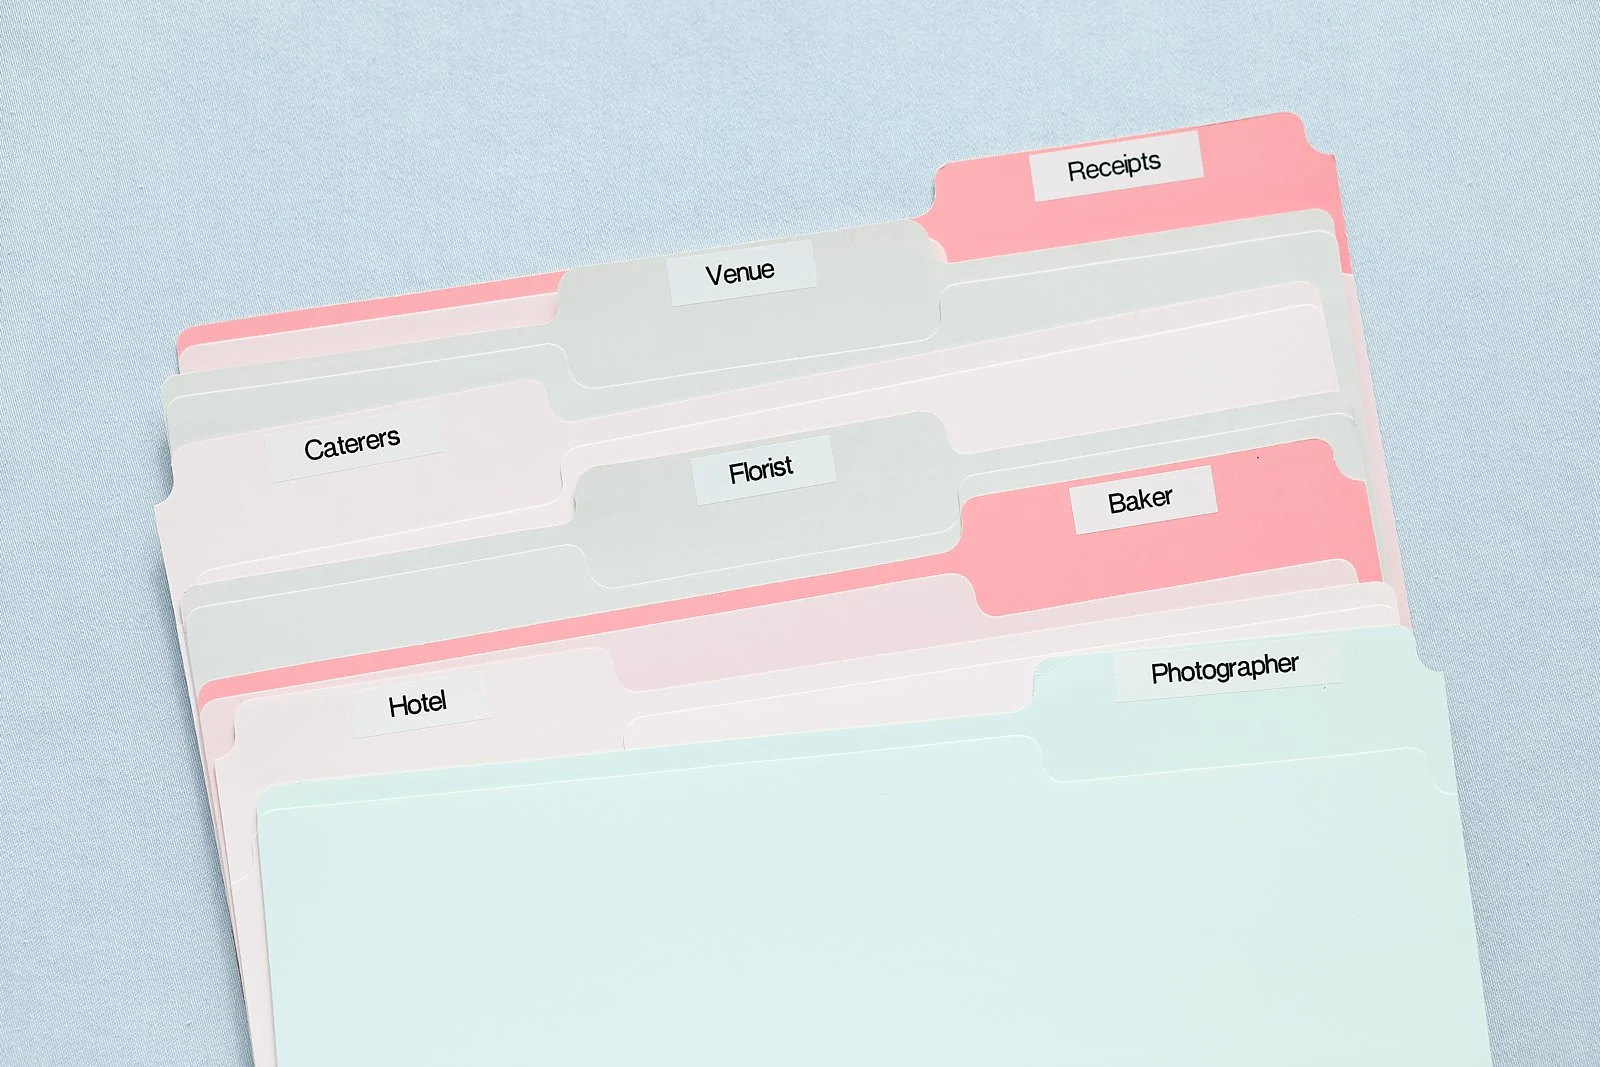
3 | Once you are past the inquiry stages with your vendors and you start to sign contracts and collecting receipts, you need to keep this important information together. I used pretty file folders and labeled them so I can keep any document I received from them in one place! I then stored these in a 12x12 box next to my desk so it is safe and all together.
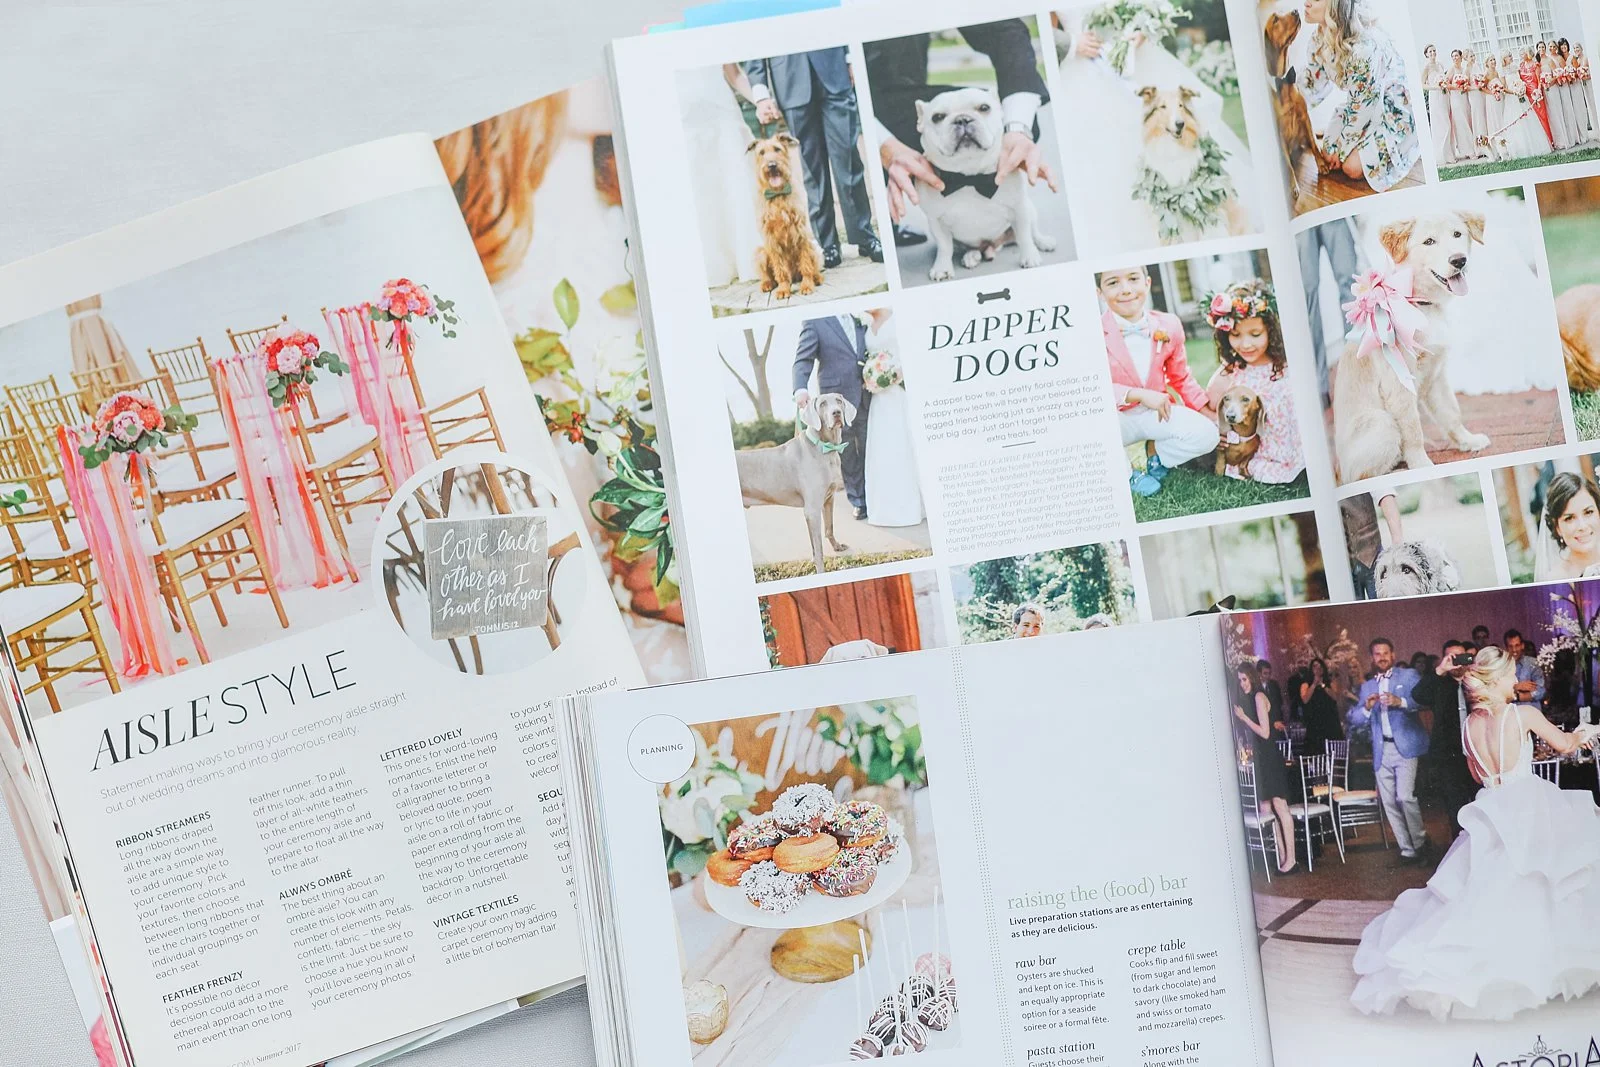
4 | The next one was one of my favorites because it was so much fun! Who doesn't go straight to the magazine racks after they get that shiny new ring on their left hand? Flipping through wedding magazines was like having Pinterest boards in the palm of my hands. I've always had an obsession with magazines my whole life because there are tons of pretty images and helpful tips and inspiring stories on every page. Everywhere I went, I had a wedding magazine in my hand and a stack of sticky notes in my purse. I would flip through each page, looking at all the design ideas and helpful tips that I could incorporate into my day, and I would place a sticky note at the top of the page if I liked something. Magazines are such a powerful tool to help plan your wedding because they are constantly updating and showcasing the newest trends.
Once I had some down time, I would go back to the sticky note pages and rip them out. But instead of having all of these magazine pages pile up, I would go even further and cut out the piece of information or photo that I liked! Why have stacks and stacks of magazines pile up in your house with tons of pages next to it, if you only need one square from that page?
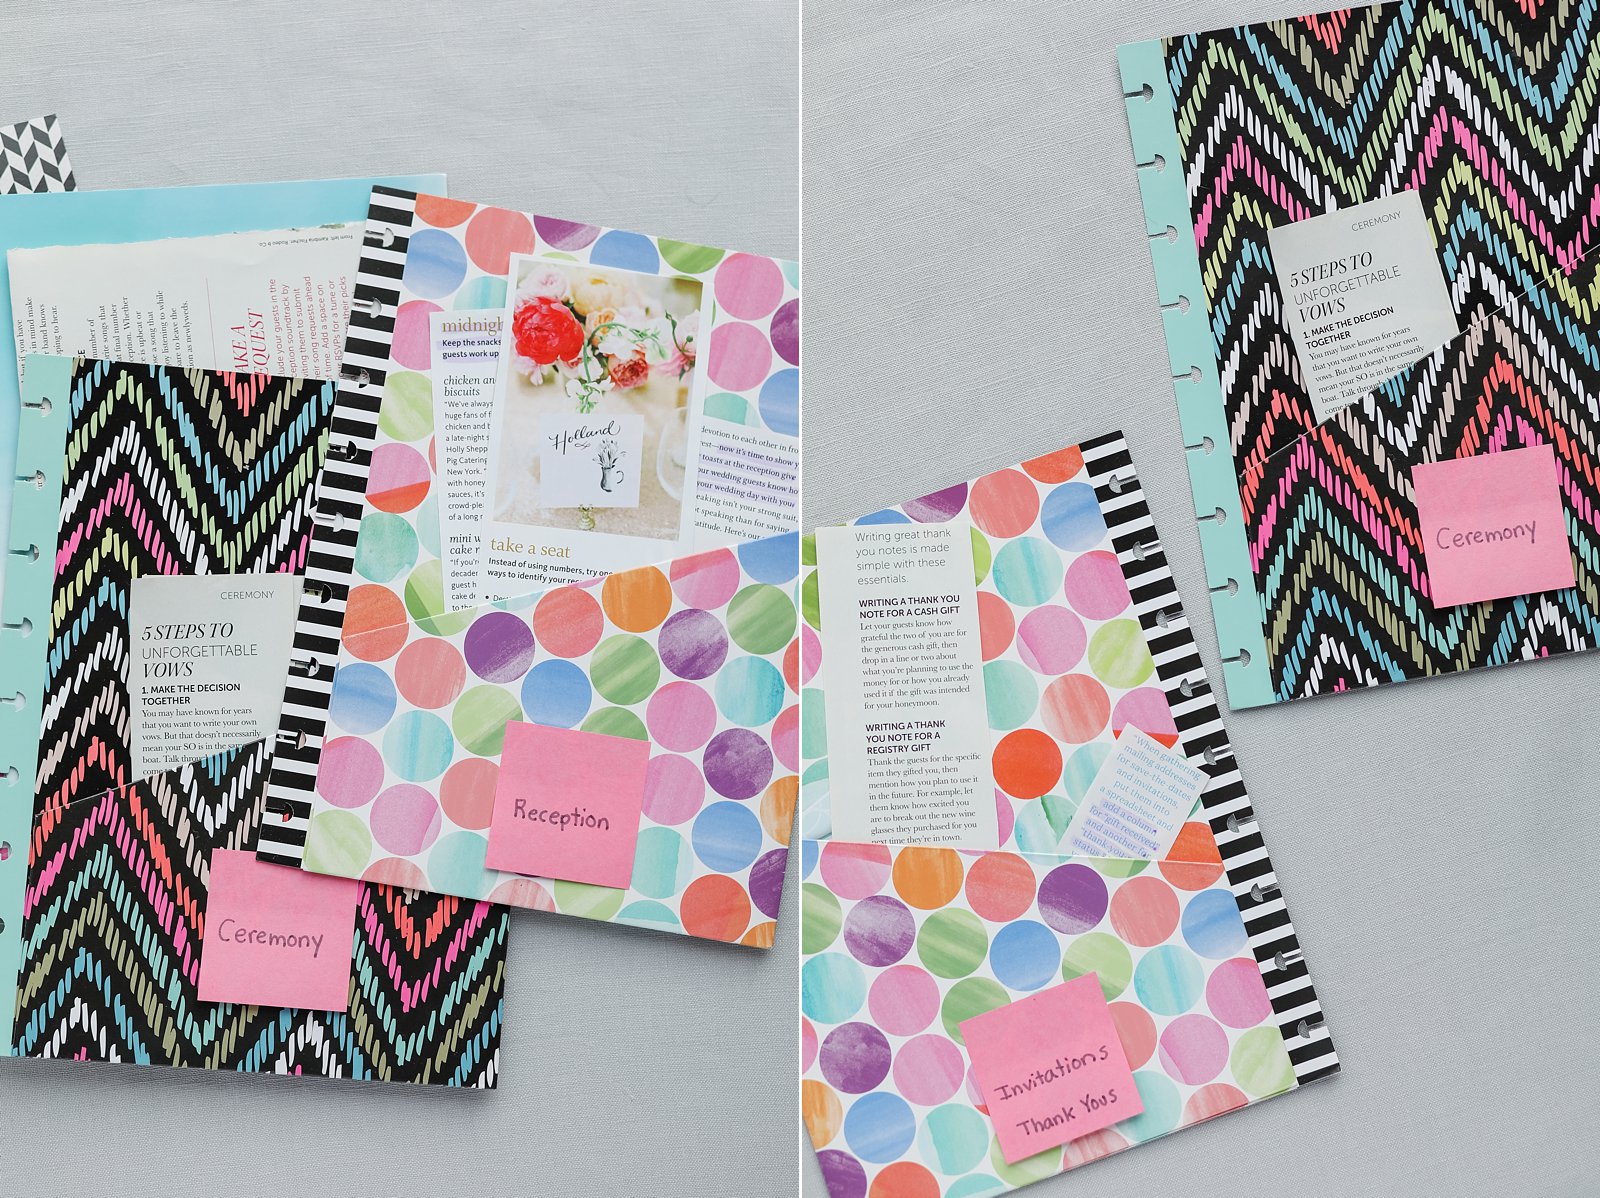
I used these pocket folders from The Happy Planner line to hold all of my magazine clippings! You can find different designs and patterns at the link I mentioned above! I used a sticky note to label each folder for each category such as invitation ideas, cake and desserts, rehearsal dinner, beauty tips, food and drink ideas, etc. There are a couple of reasons why I chose to put them all in these. They have pockets on both sides so that's double the amount of storage AND they pop right in to the wedding planner that I created. The key, if you haven't caught on so far, is keeping everything all together!
5 | This is probably the most used tool that Brides use today! Pinterest has been around for quiet some time now and every day there are more and more ideas being added and uploaded to it. This tool can be both helpful AND stressful at the same time. I'm sure every girl out there created a "Wedding Board" when they first signed up for a Pinterest account and year after year when they saw a cute Pin that was wedding related, it went straight to that board. Well when it's finally time to actually plan your wedding day, you go back to that board you created years ago, SO EXCITED, and immediately become overwhelmed. At least, that's exactly what happened to me. You have Pins about bridal shoes, and then next to that is a gift idea you want to give your mom on the day of, then you have a favor idea next to that, and everything in between. How do find that ONE Pin that you remember seeing 2 years ago? Something about the wedding party throwing confetti in the air? Or maybe it was flower petals? You will never find it again because it's lost in the Pinterest world of all of your Pins. Most of these probably aren't even relevant to you anymore because your taste and style has changed so much. My advice? START OVER.
Use the wedding email address that you already created, and make a separate Wedding Pinterest account. Make tons and tons of boards. Be so specific that it's sickening. Make a board for favor ideas! Save the Dates! Morning of tips! Gifts for parents! Gifts for the wedding party! Ceremony layout ideas! Signature drinks! Heck, even make a board of ideas for those toiletry baskets people keep in the bathrooms for their guests to use! Anything and everything you can think of, make a board for it! This will help you far down the road if someone asked you what you want your centerpieces to look like and if you need help with them! You go to that board and all of your centerpiece ideas are together in one place. Nice and tidy. You can even invite people to certain boards so if you have ideas that you like for your Bridal shower or Bachelorette parties, invite your girls to that board so they can see the pins you like!
If you are overwhelmed with starting over and creating a whole new account, don't be! Once you make your page with fresh new boards, go back to your old account and go to that one overloaded Wedding Board and sort through everything you ever saved in there! You might be surprised at the amount of pins you skip over because you don't like the style or idea anymore! Once you hit the bottom of that board, you will feel so much better knowing everything is sorted and into it designated boards that is relevant to your current style, vision and dream!
6 | The next tip is more for using like a checklist and to see what tasks need to get done and accomplished under each category and it is called Trello! I've been using Trello for my photography business for close to 2 years now and I absolutely love it! There is also an app you can download to your phone so you can have access to it anywhere you go! Once again, use your wedding designated email address and make an account. It's totally free which is awesome! You will then have a home page that looks like this below and you will be prompted to make your first "board". When you open your board, you can start to make your "lists" which are different categories!
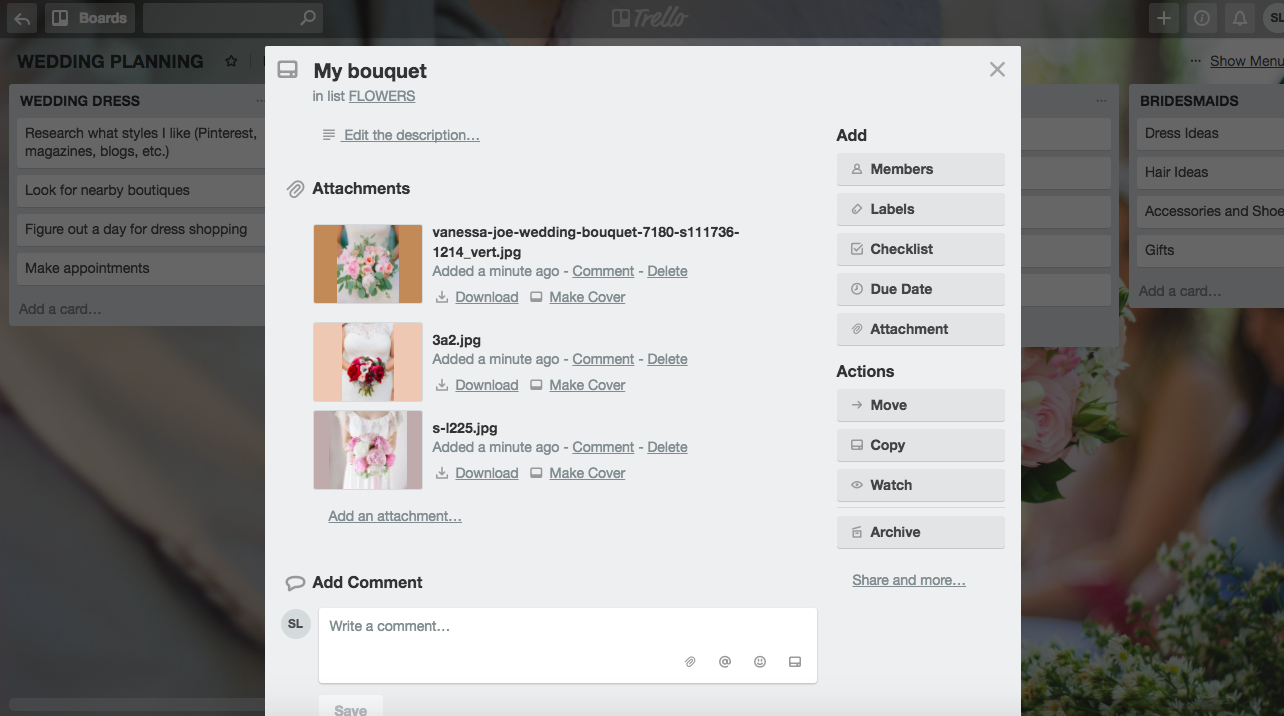
The "lists" are the main thing you are trying to work on, and then you make "cards" that go underneath the list. Each card can be different tasks you have to do for that specific category.
Once the task is complete, you just archive the card and it goes away. When you actually click on one of the cards, a window will pop up that looks like this! This is where you can add attachments, images, web address links, anything you want to go with that task! This system really helped me see the big picture of what still has to get done!
7 | I have such an obsession with spread sheets. My brain is trained to love them and feel organized when I use them. I thought of the idea to use them to create my guest list and once I put it all together and started plugging in all of the information, I completely ditched the paper and pen system for this. If you set up your wedding email address with Gmail, you can go into your Google Drive and there is a spread sheet program you can use that will get saved to your Drive and every time you open this document to make any changes, it will automatically save itself!
So how I used this is I made columns for the basic information that I would need for all of our guests. I also included a row for when I send out our Save The Dates and Invitations! Then I started to make rows of different groups of people. Brian and I went at the very top (remember, you both need to be included in the head count for everything!) Then I made a different section to separate the Bridal Party. Then it made more sense to me to separate my guest list from Brian's list. Once we were ready to send out any piece of information that needed to be mailed, I have all the names and addresses handy on the guest list, then I mark a " Y " once they were sent.
Once I started to get RSVP's back, I would go to this spread sheet, and next to the guests name, I put make the box green if they were a "yes!" and red if they were a "no". This also helped me visualize who was and was not coming to the wedding so I can get an idea of the head count number! (names below are just examples!) When each section had all of the RSVP's collected, I would go under the "Total Count" column and enter in the total number so it was easier later on to count the total yes's and no's!
Also! If for any reason I needed to print out the guest list, I can easily do that within the program and I have all the information I need right in my hand! You could also print it out to keep in your planner!
8 | Last but certainly not least, my last tip for staying organized during your journey of planning your wedding is to create a separate folder on Facebook to keep all of your planning photos together! People will love to see what progress you've made so far and they can easily see everything you and your fiancé have accomplished! Coming from a photographer and someone who loves to document life through a lens, I loved doing this because after the wedding when I wanted to print out all of my planning photos, I knew they were all in one place.
I hope all of you lucky bride to be's out there find this blog post to be helpful for you while you're in the planning process! If you have any questions at all about any of these tips or just want to chat about your day in general, please don't hesitate to reach out to me via email or comment below on this post! I would love to help!!
Also, if you are still on the hunt for your wedding dress, you might love this blog post!

